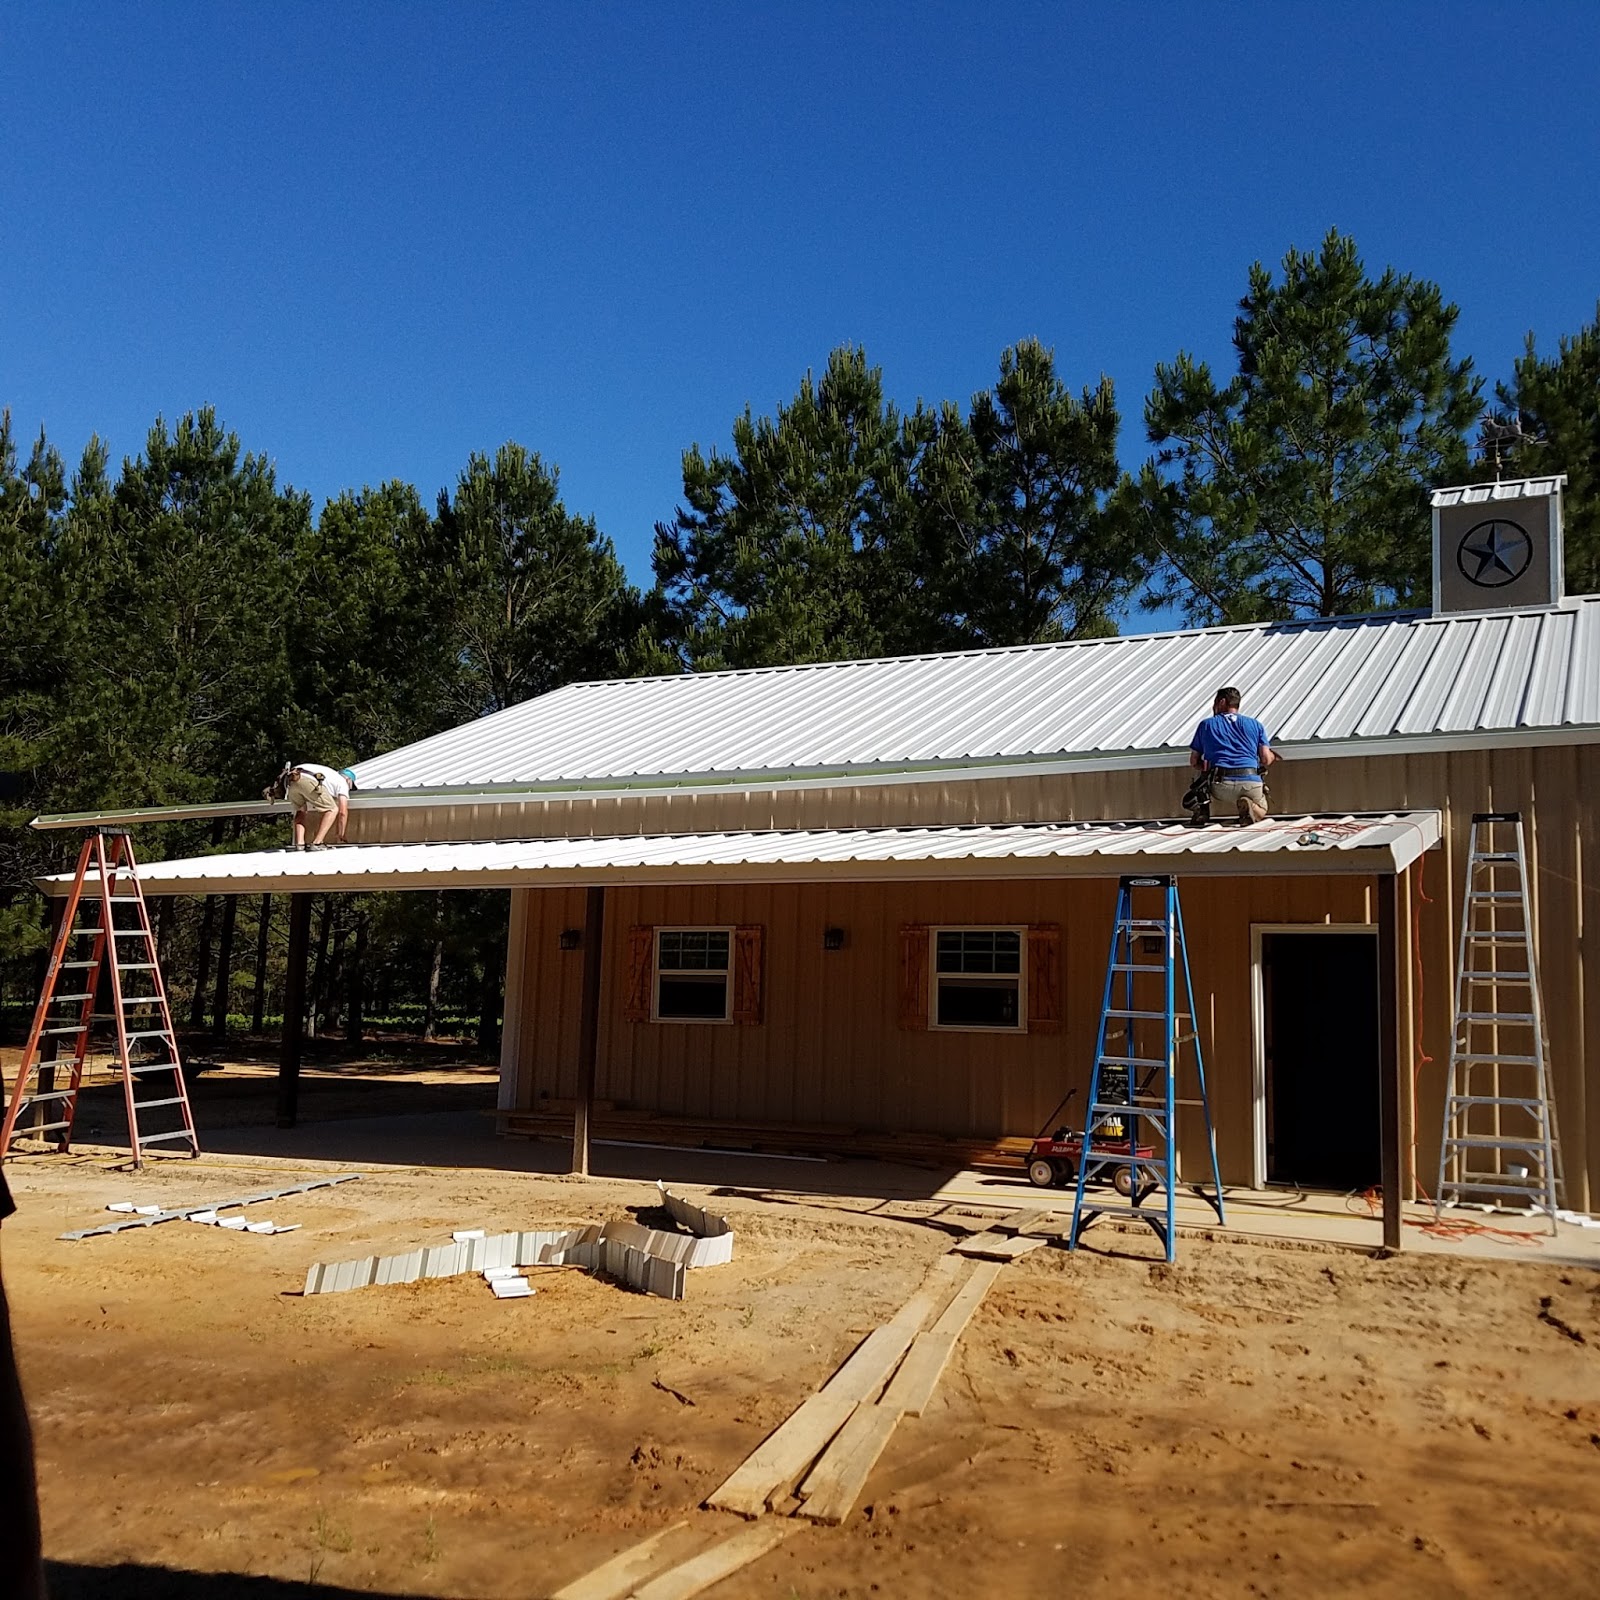
We are fortunate for the pretty good grading around the house and shop. We don't have too much to change, but between the two buildings the watershed is quite great in a heavy rain. We decided to add gutters to the side of the house shop to divert the water to the back of both buildings. We contacted our local "Gutter man" / Fire Chief with Gutters Plus. They came and did an excellent job. The continued rains have proven the gutters were well worth it!

After much debate and searching for wood sources in our area we ordered and received 500 16' yellow pine tongue and groove boards. These are 1" x 8" #122 boards. Originally we wanted white pine, but there was a lot of mix up with the pricing and availability. That happens when sources are few.
These boards are going on all walls and ceilings. That is the reason we shopped around for 10' - 12' boards, but it may end up being a faster install with the 16' boards. We should end up with a little left over, even with drops.
Temporary storage is not ideal with all the rain we have been having, but maybe it will get us moving faster on the installation!
Of course, as soon as the wood was delivered we had to try it out. So we started covering our living area beam. It is looking good. we will be giving that beam texture and a dark coat of stain to make it really stand out.
Working on test pieces for stain. The beam will be the darker stain on the far left. One of the three on the right will be the trim for all corners, windows and doors.