Blog Archive

Showing posts with label diy home. Show all posts

Sunday, December 3, 2017

Little steps - Big reward

There are three season around here. Spring, Summer and Hunting Season.

We continue on with the walls and ceilings. The goal is to have the electrician back to finish his work in March. Until then, we will be working steady on the tongue and groove boards on the walls and ceilings. As you can see below we finished one bedroom. Well, 3 walls and the ceiling.


Sometimes we have to re-adjust our priorities.
It often depends on the weather, but then when hunting season starts. Well, like I said, we hunt.
In preparation for our Spring garden. My husband designed and built these beds. We had a successful crop last year, but we believe we will have better water control with this system. Will let you know.

                                                                                                                                                                                                                                                                                                Resting our weary bones and admiring our kitchen cabinets. We are going to clear coat the wall behind the cabinets before we install them. We are also going to stain the cabinets so they stand out more. It may be a clear coat, if that provides enough color. 
Started ceiling in the master bedroom. These smaller rooms are going fast. I suppose that was the ultimate plan. We did the largest room first, so these seem easy. In planning for the electrician and A/C man in March, we will complete every wall and ceiling to the point they require. Then if we have more time, we will just keep going. The cut outs are going well. 


Had to take time out for Christmas tree project at entry and decorate 9ft tree in the house.

Merry Christmas!


Monday, June 26, 2017

A bridge and our beam

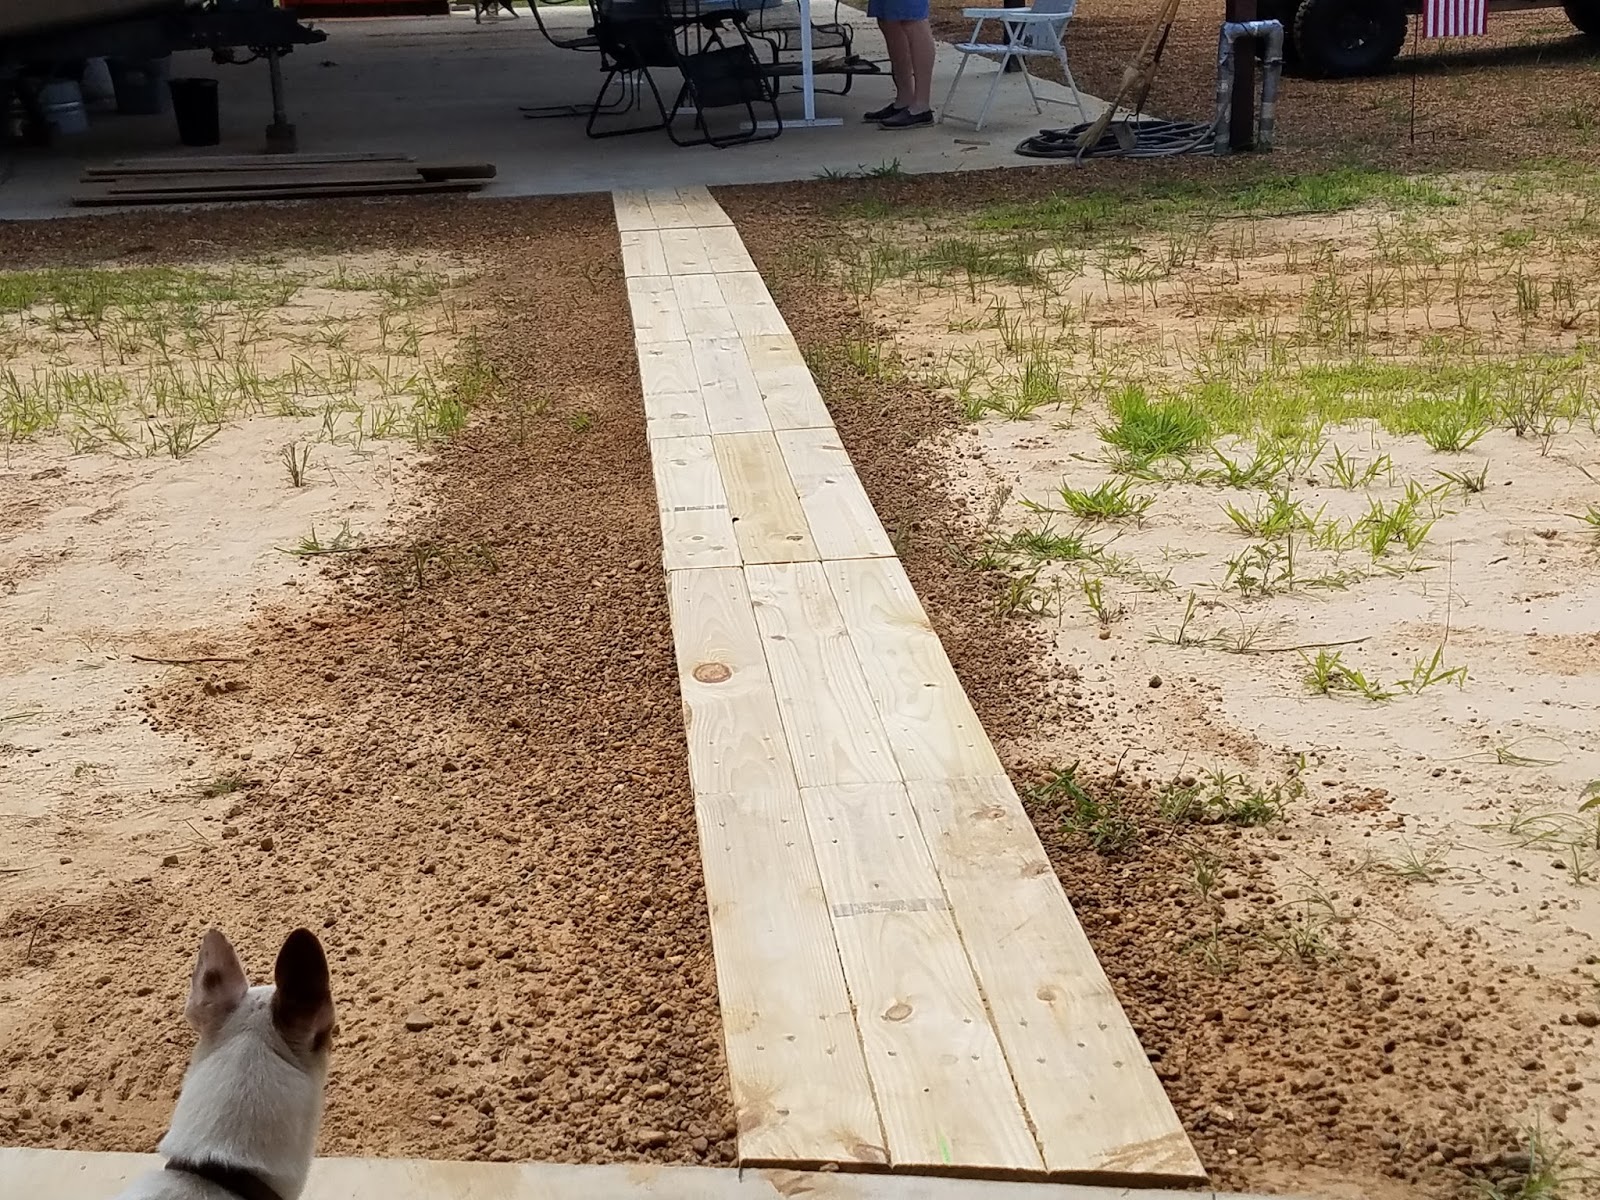
In light of the amount of rain we have been getting we had to take a side step and build a bridge. This bridge will do the trick to get us back and forth from the shop to the house without sloshing through the mud. While the new gutters are helping tremendously, the sand is a soggy mess when wet. A simple DIY bridge and it works great!

Sam " hmmm what is that!?"


Finished are all the 10' walls in the living area!! 🏆🏆🏆

After finishing the wall with the main door and windows, we finished the beam.  We lightly sanded then textured the wood with a few handy tools.  Those marks make a wonderful look on the finished stained wood.  The scaffolding is a fantastic tool and made this staining job alot easier!


Monday, June 5, 2017

Wall continuation.. We have a DIY Mantel!

We are finding that the tongue and groove wall installation is going fairly quickly. Over 2-3 work days and about 12 hrs we have installed the pine boards up to 10' in our living area. Three walls!
Working around the electrical sockets and window frames are fairly simple.  The pins are working absolutely wonderful and the bowrench is worth its weight in gold! The kitchen wall where the cabinets will be installed has been left open. We will be installing plywood before the cabinets.


After searching and searching for a mantel we really liked and was in our price range, we opted to do a DIY mantel. We love it and think it turned out great! What do you think?  We used four 2" x 10" pine boards, glued and doweled together with 3/4" dowel.  Then the mantel was trimmed to a length of 5', sanded, textured and stained. The mantel was installed with the top at approximately 5'. The mantel was attached to the wall with 5/16 x 3 1/2" screws. Four screws were inserted from the back side of the wall. This mantel is sturdy and isn't going anywhere!


We picked up a 2" thick 36" cement square. This will be used under the cast iron wood burning stove that will sit in front of the mantel. I will be finding a way to stain that square.

We also installed wood trim around one window after testing a handful of stains. We were looking for something just slightly darker than the wall boards. We settled on Classic Oak. This is a stain and poly product that will only take one coat.  I like the slight overhang of the upper window trim. Nice touch!


Tuesday, May 23, 2017

Gutters and Buying wall boards

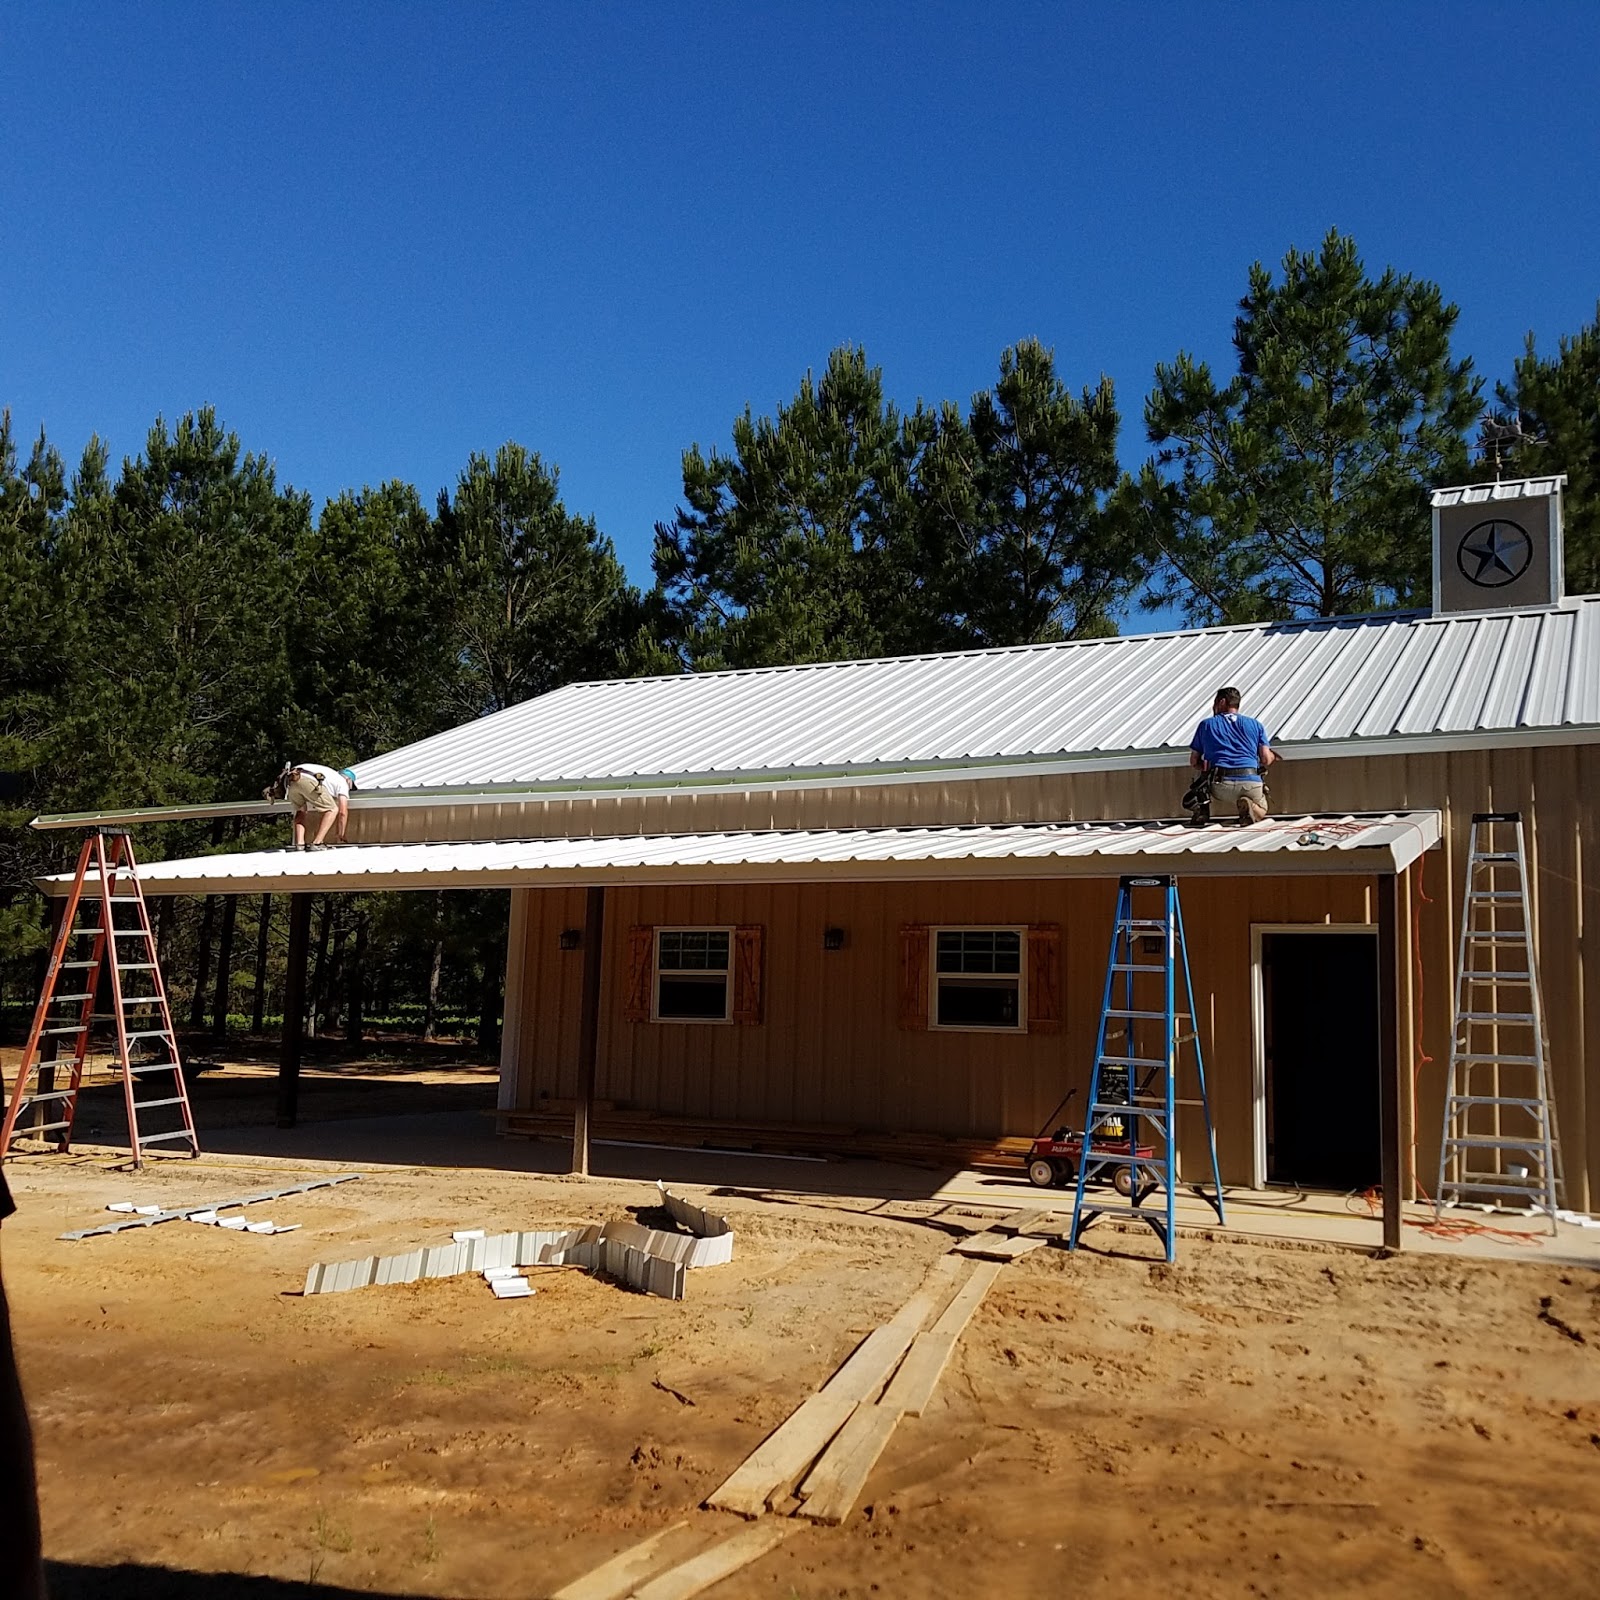
We are fortunate for the pretty good grading around the house and shop. We don't have too much to change, but between the two buildings the watershed is quite great in a heavy rain. We decided to add gutters to the side of the house shop to divert the water to the back of both buildings.  We contacted our local "Gutter man" / Fire Chief with Gutters Plus. They came and did an excellent job.  The continued rains have proven the gutters were well worth it!


After much debate and searching for wood sources in our area we ordered and received 500 16' yellow pine tongue and groove boards. These are 1" x 8"  #122 boards. Originally we wanted white pine, but there was a lot of mix  up with the pricing and availability. That happens when sources are few.
These boards are going on all walls and ceilings. That is the reason we shopped around for 10' - 12' boards, but it may end up being a faster install with the 16' boards.  We should end up with a little left over, even with drops.
Temporary storage is not ideal with all the rain we have been having, but maybe it will get us moving faster on the installation!


Of course, as soon as the wood was delivered we had to try it out. So we started covering our living area beam.  It is looking good. we will be giving that beam texture and a dark coat of stain to make it really stand out.


Working on test pieces for stain.  The beam will be the darker stain on the far left. One of the three on the right will be the trim for all corners, windows and doors.

Tuesday, April 25, 2017

Insulation and Exterior Complete!

We hit a slow patch in our diy build.  But the insulation and building exterior are complete!!

The interior foam insulation was blown in using closed cell around the windows and open cell on the remaining walls and ceiling. The insulation makes a great difference in temperature inside.


The exterior has been completed by Huff Welding. They installed the last  pieces on the porch.


We moved over the swing to the front porch and moved over the fire pit and made a sitting area.


Now the interior building for us begins! We will be installing plywood in the closests and painting them at a later date. A few concrete anchors have been installed and two doorway thresholds removed.


We are in the process of finding the tongue and groove boards for all the walls. Not an easy task when you need 6000sq ft of boards (approx 900 10' boards). Hopefully, we will have that figured out in the next week and the boards on order. Until then we have alot of wall anchors to install and many other little items. 

BTW: We squeezed in a "little" garden to take care of in our "spare" time. Oh, and we have fun doing some wild blackberry pickin'.


Friday, March 24, 2017

Subcontractors Subcontractors and more Subcontractors

We have had a lot of activity in our build. We have had subcontracts and more subcontractors working on different projects. The money in our wallet is flying out as we near the end of the big expenses. That is all fine because that means we are getting nearer to having a finished home.

The electrical rough in is done!  Coordinating the A/C, electrical, chimney and insulation guys has been fairly easy. Each of these companies have been accommodating and very professional with meeting our needs.

Culpepper Electrical worked with us to place outlets and fixture junctions where we needed them. Bryan Culpepper made suggestions that improved the overall installation.  Here are a few photos:


With the electrical roughed in the air condition was roughed in also. The inside unit of the 4 ton 18 SEER American Standard heat pump was installed. Platt Heating and Aircondition is completing the installation of the unit.  They have been there when they said they would be and most importantly worked with us to keep the attic space clear. The unit in the attic space is suspended.  Here is what we have:


Just yesterday the chimney was installed thanks to Huff Welding. Another very highly recommended company. Mr. Huff and his staff cut the hole in the perfectly good roof to insert the chimney pipe, attached the supports and cap.  It looks great! We are expecting very high winds today so that will be a good test.


We took a little time off to start a "test" deer plot.  We are fortunate to have a nice clearing to work with. I mowed the 1/4 acre location and then my husband turned over the ground using the box blade on the tractor. Alot more work is to be done to get this spot ready for seed. Second photo is me helping.


Our fantastic guys from Culpepper Electric were out very early this morning to trench and prepare for the electric line to be run underground. We are getting very close to having live electricity! They also helped us trench our septic and water line locations.  We (I mean my husband) dug and placed the 200gal septic for our grey water yesterday.


That tank reminds me of the Gilligan's Island episode where the little oriental man shows up on shore in a tiny submarine looking thing. Doesn't it look like that?

Next up: Insulation in the next few days....stay tuned.