Blog Archive

Showing posts with label tongue and groove. Show all posts

Monday, June 5, 2017

Wall continuation.. We have a DIY Mantel!

We are finding that the tongue and groove wall installation is going fairly quickly. Over 2-3 work days and about 12 hrs we have installed the pine boards up to 10' in our living area. Three walls!
Working around the electrical sockets and window frames are fairly simple.  The pins are working absolutely wonderful and the bowrench is worth its weight in gold! The kitchen wall where the cabinets will be installed has been left open. We will be installing plywood before the cabinets.


After searching and searching for a mantel we really liked and was in our price range, we opted to do a DIY mantel. We love it and think it turned out great! What do you think?  We used four 2" x 10" pine boards, glued and doweled together with 3/4" dowel.  Then the mantel was trimmed to a length of 5', sanded, textured and stained. The mantel was installed with the top at approximately 5'. The mantel was attached to the wall with 5/16 x 3 1/2" screws. Four screws were inserted from the back side of the wall. This mantel is sturdy and isn't going anywhere!


We picked up a 2" thick 36" cement square. This will be used under the cast iron wood burning stove that will sit in front of the mantel. I will be finding a way to stain that square.

We also installed wood trim around one window after testing a handful of stains. We were looking for something just slightly darker than the wall boards. We settled on Classic Oak. This is a stain and poly product that will only take one coat.  I like the slight overhang of the upper window trim. Nice touch!


Tuesday, May 23, 2017

WALLS !!!

Walls!  It makes me feel like we are getting closer to being done, although we are far from it.
We worked through all the hassle of getting the tongue and groove boards to the house. Now I am in training on installing boards as high up as I can reach (that is not far).  This way I can help while the Foreman works on other things. Here is my first wall. Short and sweet.

  
As luck would have it, the nail gun bit the dust and we both had to stop working. The process is relatively easy. My main goal was to get them on straight, level, tight, with the groove side out and nail in the top, not the notch, so the nail won't show. No problem....you can only see a couple nails.

Gutters and Buying wall boards

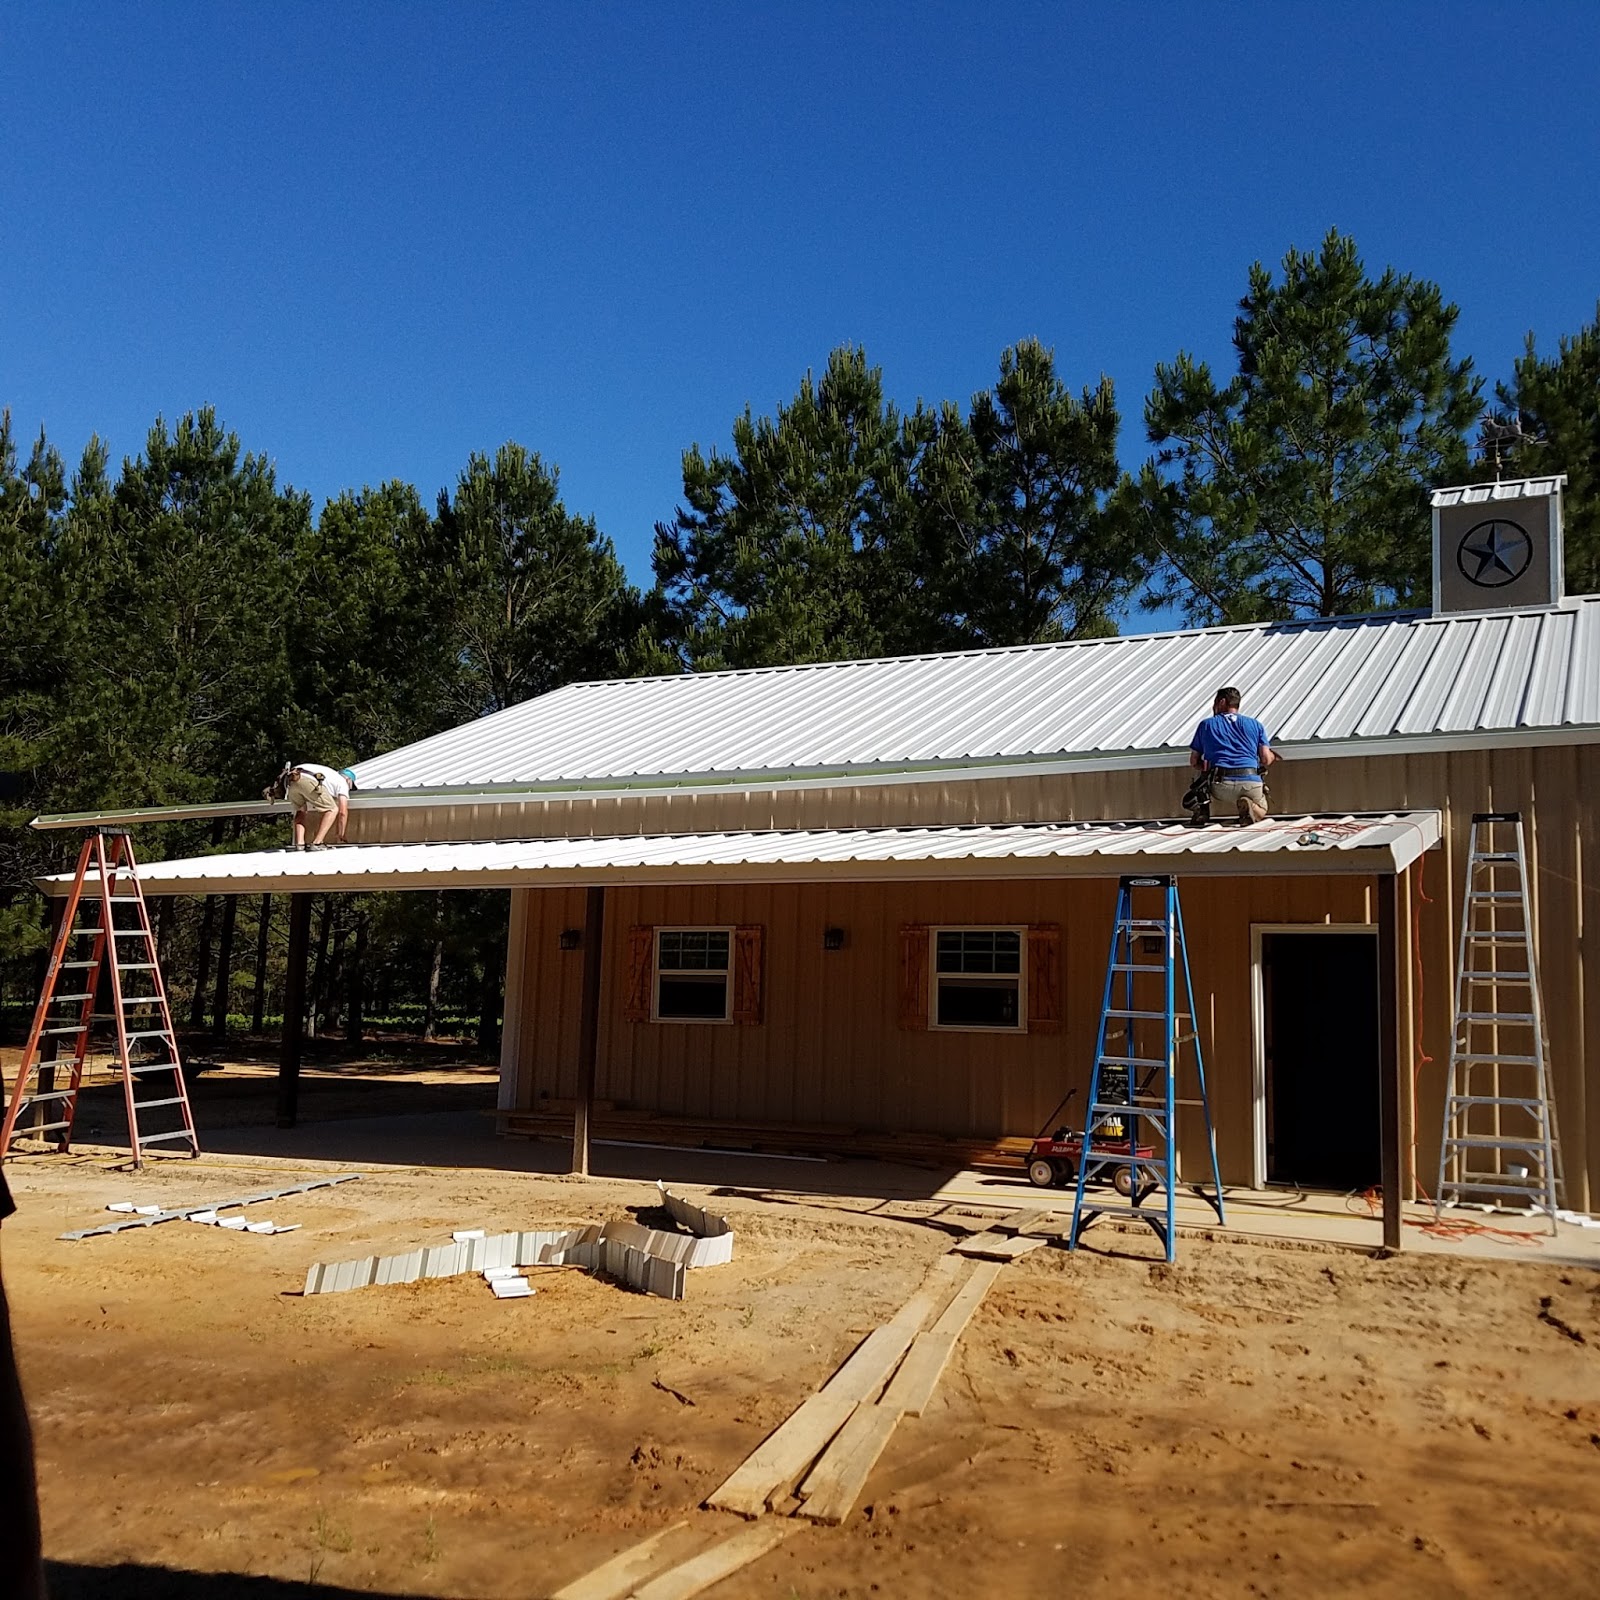
We are fortunate for the pretty good grading around the house and shop. We don't have too much to change, but between the two buildings the watershed is quite great in a heavy rain. We decided to add gutters to the side of the house shop to divert the water to the back of both buildings.  We contacted our local "Gutter man" / Fire Chief with Gutters Plus. They came and did an excellent job.  The continued rains have proven the gutters were well worth it!


After much debate and searching for wood sources in our area we ordered and received 500 16' yellow pine tongue and groove boards. These are 1" x 8"  #122 boards. Originally we wanted white pine, but there was a lot of mix  up with the pricing and availability. That happens when sources are few.
These boards are going on all walls and ceilings. That is the reason we shopped around for 10' - 12' boards, but it may end up being a faster install with the 16' boards.  We should end up with a little left over, even with drops.
Temporary storage is not ideal with all the rain we have been having, but maybe it will get us moving faster on the installation!


Of course, as soon as the wood was delivered we had to try it out. So we started covering our living area beam.  It is looking good. we will be giving that beam texture and a dark coat of stain to make it really stand out.


Working on test pieces for stain.  The beam will be the darker stain on the far left. One of the three on the right will be the trim for all corners, windows and doors.